During our Wild West Unit one of our science connections is land forms! We focused on a few main land forms: continent, mountain, hill, valley, canyon, plain, glacier, cliff, gulch, ocean, lake and river.
Continents
We start out with continents, because those are the most basic landforms. We learn all seven through a song that we belt out at the top of our longs for however long I will let them! It is to the tune of take me out to the ball game and can be sung in opera if desired.
Forming the Landforms
How better to remember the different landforms than to form them with play dough?
Group Project - Poster
After a few days of getting to know different landforms I put my students into groups of two or three and they got to choose a landform from our list. During computer lab I call them a group at a time to my computer to do a little research and find a picture. I printed out the info and picture and layed them out on the ground so that they kids could work together.
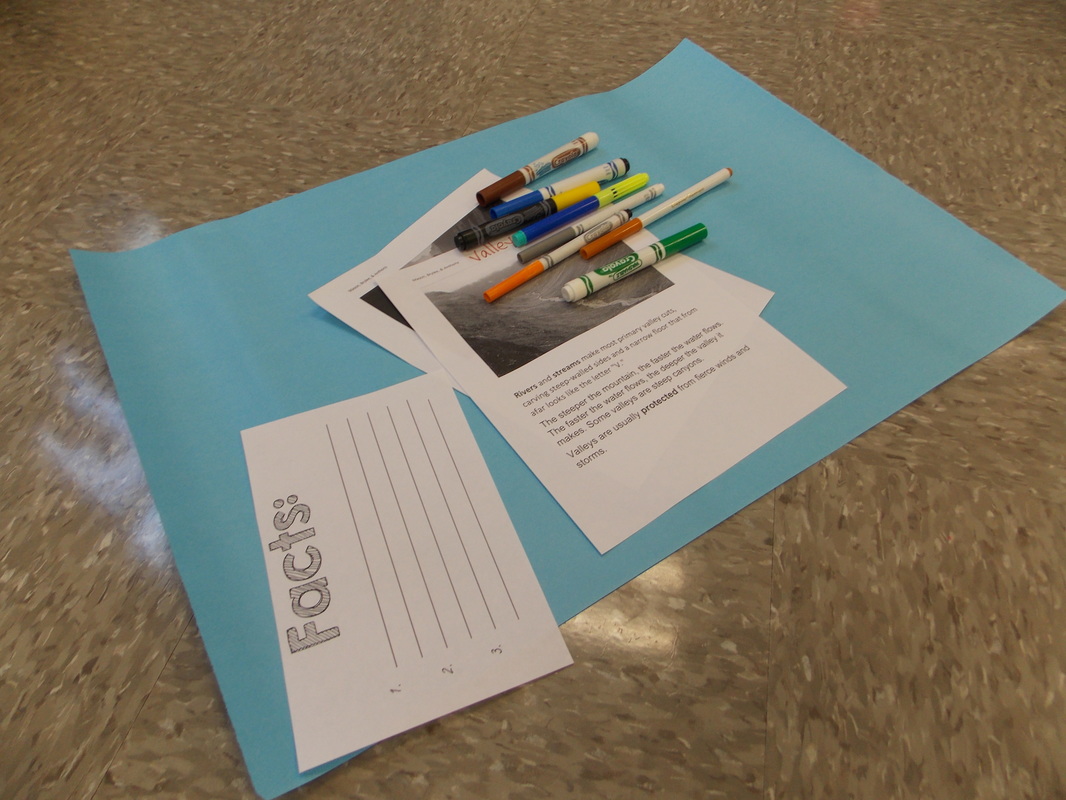
The kids took it very seriously and for the most part worked together really well! This is probably their first group project so I provided ample scaffolding.
Poster requirements:
Poster requirements:
- Heading
- Drawing
- Printed Picture
- 3 Facts
- Names
Brain Pop Jr. has a great video about landforms that includes games and activities. (You need a Brain Pop account to be able to access the resources)
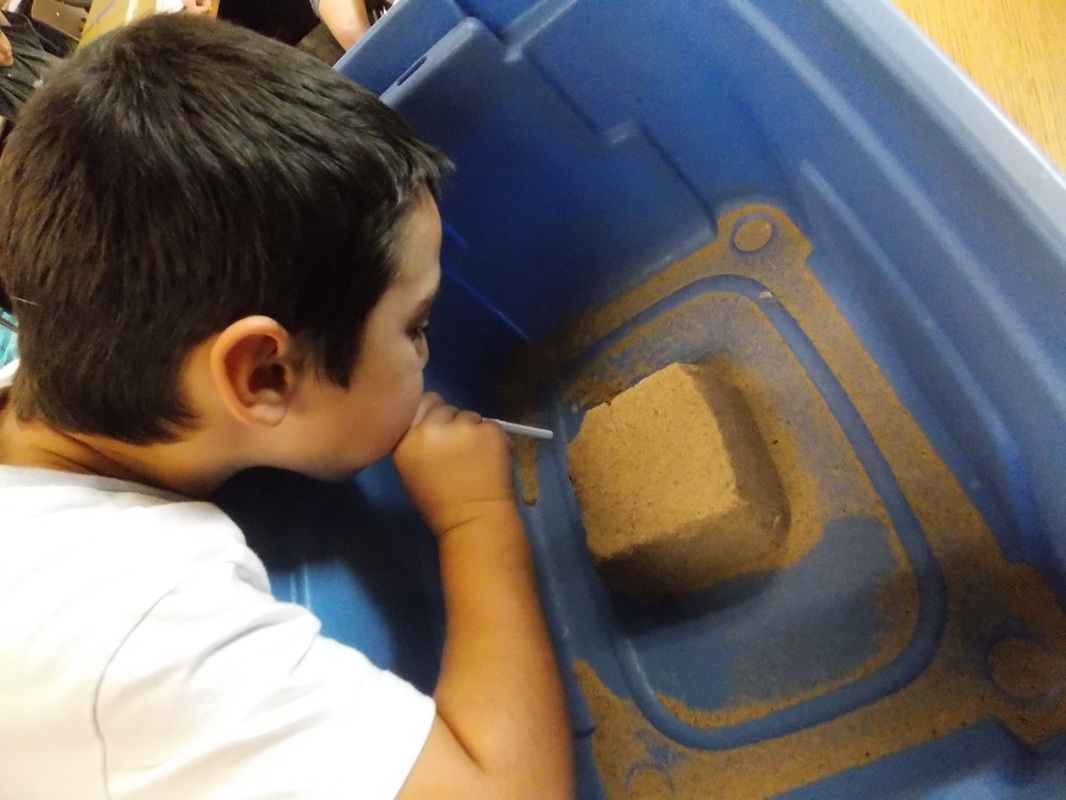
Erosion
Another thing that is important to discuss while learning about how landforms can change both quickly and slowly through erosion and weathering.
A little experiment (that a fellow teacher got from BETTERLESSON) that is easy to do is to create a sand castle (we called ours a mesa) with sand and a little water. Each child took a turn blowing at the same point of the mesa formulating wind. Slowly the 'mesa' began to chip away creating a dent in the form.
If I were to do it again I would not have done it in a box. The box made it difficult to create much of a difference in the form of the sand. It would have been better to blow from the side than from the top.
Here are some insightful short videos of how erosion and weathering works!
Creating Landform Island
We completed our landform mini science unit by creating Landform Island. It took us a little longer than a week. We worked on it a little each day. This all came from BETTERLESSON
Materials used:
salt dough (1 part salt, 1 part flower, 1/2 part water)
tooth picks
flags
plates
paint
planning sheet
Day 1: 'Make a Plan' Each child decides what landforms to include in their island and sketches a diagram of their island they plan to make.
Day 2: Cut, glue, and label each flag onto the tooth picks.
Day 3: Make the salt dough and form the island on the plate. Stick each flag into the corresponding landform.
-Wait a few days for it to dry
Day 4: Paint the island the appropriate colors
Day 1 & 2
Day 3
1 batch of salt dough is: 1 cup flour, 1 cup salt, & 1/2 cup water. I pulled three kids to my 'mixing station' at a time to help me mix up the ingredients. I made enough to give each student a little more than 1/2 a batch of dough.
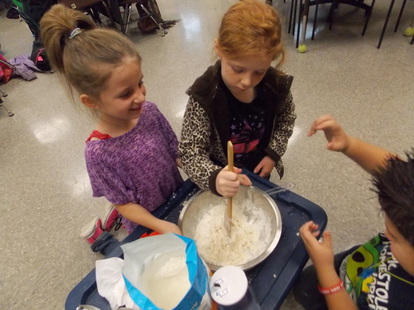 | 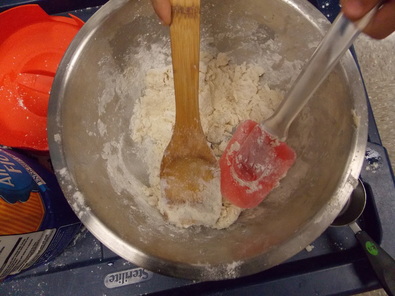 |
To start out I gave everyone half a batch of dough to form the foundation of their island. Once they were done with that, they could get a little more to create their landforms (mountains, valleys, volcanoes, lakes, rivers, caves, etc)
Day 4
I borrowed paint brushes and acrylic paint from the art teacher. I don't know if I will do this again... it was very messy is a bad way! We only had 2 water cup spills (by the same group of people) but let's just say it was a little disastrous. I covered each group of tables with butcher paper. If I had to do it again I would have cut the paper apart to be separate large place mats. This way if one child accidentally pulls on their place mat, the water on the other side of the table will not topple.
 RSS Feed
